
By the end of the chapter you will:
As we are compiling with pdflatex we can use the file formats shown on the right. To include an image file we use:
\includegraphics[options]{image file name}
The image files must be kept in the same folder as the tex documents unless you are using the relative path to the filename as described in the Chapters advanced section. The
options can be used to change the size of an image. You can specify a particular height [height=2.5cm] or width [width=.5\textwidth]
and the aspect ratios will be scaled. You can also scale an image directly using
[scale=0.5]
Activity - Input an image into one of your chapter files.
| File format | Notes |
|---|---|
| JPEG | JPEGs are best for photos or pictures with fine colour gradients. |
| PNG | PNGs are better for diagrams and pictures with solid blocks of colour. |
| PDFs use more disc space than JPEG but are useful for vector graphics. | |
| EPS | EPS files are converted to PDFs using the epstopdf package. |
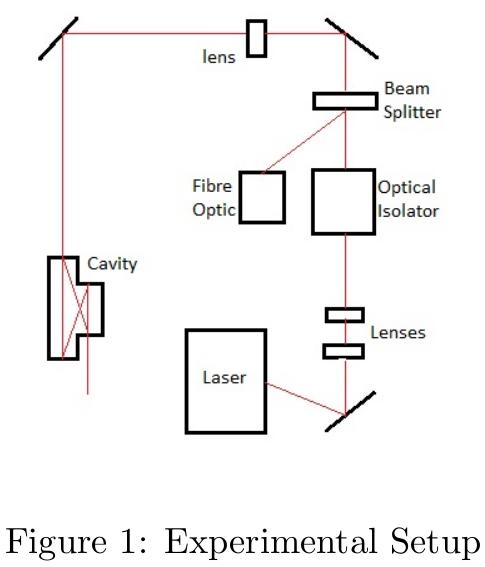
To provide an image with a caption and a label for cross-referencing we put the image in the figure environment. Using the figure environment ensures that the image appears in the List of Figures.
Look at the example to the right.
Notice that the figure environment must be closed with \end{figure}. The caption with be written in the List of Figures next to the page number for the image. However often the caption we
want underneath the image is too long to put in the List of Figures. We can use the following code to specify a shorter caption for the List of Figures whilst retaining the longer one for image.
\caption[short caption]{longer caption}
Activity - Put your image in the figure environment. Give it a caption and a label.
\begin{figure}
\centering
\includegraphics[scale=0.5]{image file name}
\caption{Experimental Setup}
\label{fig:setup}
\end{figure}
LaTeX automatically positions images in the most appropriate place, which is usually acceptable. However, there may be times when you want to overide the postion of an image. To do this we use placement specifiers
in square brackets next to \begin{figure}. On the right is a list of specifiers.
LaTeX treats figures and tables as floats. Floats are items that cannot be broken over two pages. There is also a float package that allows you to force LaTeX to place an image exactly where you have requested it to be. Below is
an example of how to place an image at the top of the page.
\begin{figure}[t]
 .......
\end{figure}| Placement Specifier | Image Placement |
|---|---|
| h | Approximately 'here' where you have written it in the code |
| t | Top of the page |
| b | Bottom of the page |
| p | On a page only for floats |
| H | Strictly 'here' where it is in the code (needs the float package in the preamble) |
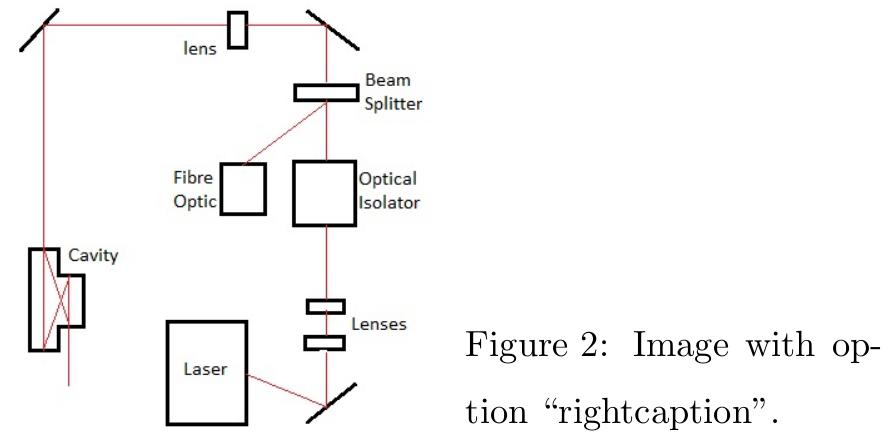
Captions do not have to placed underneath images. To place captions next to images we need to use the package \usepackage[option]{sidecap} in the preamble.
The option decides which side of the image the caption is placed. See the options on the right.
To use the package follow this example:
\begin{SCfigure}
\centering
\caption{....}
\includegraphics[scale=0.5]{image file name}
\end{SCfigure}| Option | Effect |
|---|---|
| leftcaption | Caption placed to the left of the image |
| rightcaption | Caption placed to the right of the image |
| outercaption | caption is left on left pages and right on right pages (default) |
| innercaption | caption is right on left pages and left on right pages |

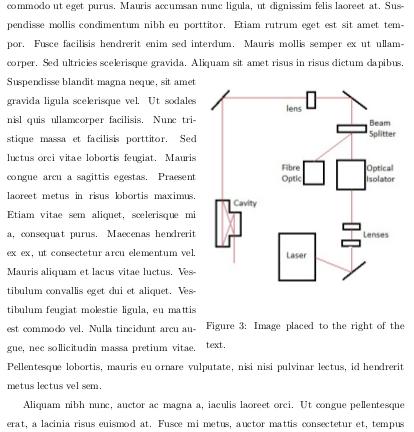
LaTeX does not wrap text by default so we need to add the package \usepackage{wrapfig} to the preamble. We then replace \begin{figure} with
\begin{wrapfigure}{position}{width} where position is the position of the image and width is the amount of space allowed for the image. The possible postions are shown on the right.
To remove any excess whitespace above and below the image use \vspace with a negative value. See the example below:
\begin{wrapfigure}{r}{0.5\textwidth}
\vspace{-5mm}
\begin{center}
\includegraphics[width=0.48\textwidth]{filename}
\end{center}
\vspace{-2.5mm}
\end{wrapfigure}| Position | Explanation |
|---|---|
| r | Image placed to the right of the text |
| l | Image placed to the left of the text |
| i | Image placed near the binding |
| o | Image placed far from the binding |
Using uppercase instead of lowercase positoning letters will allow LaTeX to float the image.

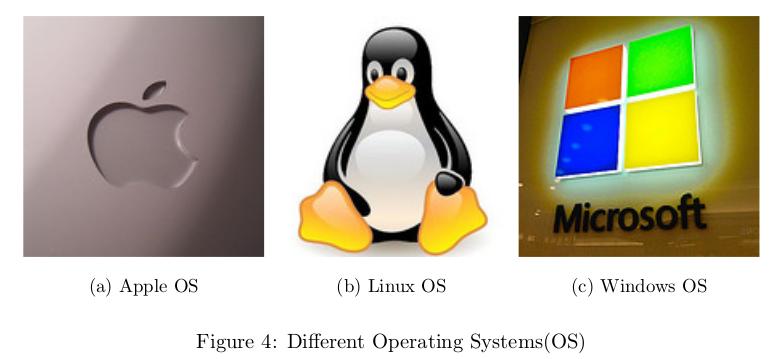
Subfigures are useful when you want to put images side by side with their own captions. To create subfigures add these two packages to you preamble:
\usepackage{caption}
\usepackage{subcaption}
Activity - Google the options of the caption package.

\begin{figure}
\centering
	\begin{subfigure}[b]{0.3\textwidth}
		\includegraphics[width=\textwidth]{filename}
		\caption{Apple OS}
		\label{fig:...}
	\end{subfigure}
	\begin{subfigure}[b]{0.3\textwidth}
		\includegraphics[width=\textwidth]{filename}
		\caption{Linux OS}
		\label{fig:...}
	\end{subfigure}
	\begin{subfigure}[b]{0.3\textwidth}
		\includegraphics[width=\textwidth]{filename}
		\caption{Windows OS}
		\label{fig:...}
	\end{subfigure}
\caption{Different operating systems (OS)}\label{fig:...}
\end{figure}